The question below is from a coach I met at the 2012 BSMPG Summer Seminar where Boo Schexnayder spoke. In my response I’ll talk about what people popularly refer to as plyometrics or plyos, but I’m going to follow Boo’s lead and use the term multiple jumps or multijumps. Plyometric actions could be upper or lower body in nature and for lower body also include tasks like sprinting. Below I’m focusing on multiple jump exercises so it makes much more sense, and is a lot more accurate, to just call them multijumps as Boo suggests.
“Question regarding something I walked in late on with Boo Schexnayder’s lecture and you had begun talking about outside. You mentioned that one of the best ways to teach the anticipatory isometric contraction that occurs prior to landing is to use some jump and stick work- hitting the ground and stopping. Would you mind elaborating on this for me? Why it works, how you would teach it, when to incorporate it?”
First off it was awesome, as it always is, seeing Boo Schexnayder present at BSMPG as he’s a great coach. He’s also a great coach of coaches and his contributions to the USATF and now the USATFCCA Coaches Academy have been a huge help to many coaches including myself.
I don’t see multiple jumps (plyometrics) getting much coverage beyond youtube highlights on the net and you rarely see much detailing the coaching and teaching of this element. As such, in answering the above question, I’ll cover a little background for multiple jumps and what I’ve learned for early teaching and training. I’m going to start by discussing the “anticipatory isometric contraction,” asked about above which is often termed pretension. From there I’ll discuss some of the early training tools I’ve found useful in teaching pretension and multijump skill.
So what is pretension?
When I use the word pretension in this post (Komi most often calls it preactivation) I’m speaking of muscular preactivation preceeding ground contact in a multiple jump. The quadriceps and triceps surae complex lead the way here as these antigravity muscles stiffen before ground contact.
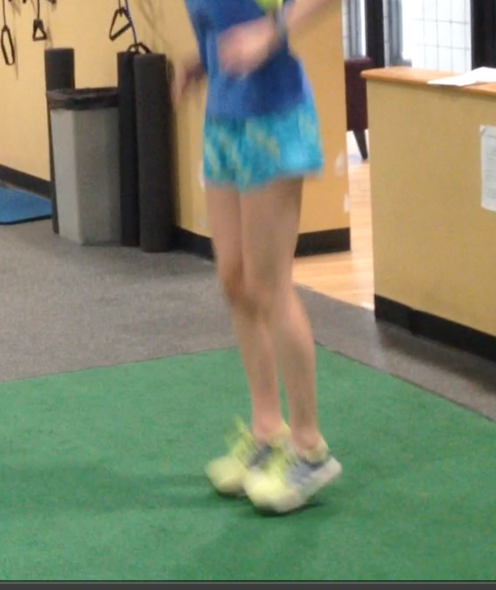
Pretension via stiffening of the quads and calves in in-place stiffness hops for a younger athlete
With this preactivation I’m also including joint positioning as even well timed and appropriate values of muscular force without good joint position and posture, won’t do much for you. Good pretension prepares and positions the contractile and elastic elements of the system to efficiently distribute, store and/or use energy from the landing(further resources below). I think of pretension as the landing prep to absorb and/or redirect force upon ground contact. Muscles with a late start respond too late.
So how do you teach pretension? What cues do you use? Like most athletic actions, you coach directly some and don’t coach when you shouldn’t. Most importantly, you select appropriate training and coach to assist the development in that environment. Like most higher speed athletic actions, multijumps involve a lot of reflexes and tuning of force (timing, amount, and switching) that isn’t always explainable or cueable. I’ve found it has to be learned by selecting, doing, and of course coaching of appropriate training. In other words YOU BUILD IT IN.
Good training is teaching and the bonus is you are also getting adaptations while learning. If you choose good training, these adaptations fit what you need to do in the future while also improving support qualities that enhance performance.
Pretension Setups
Appropriate pretension starts with an understanding of the different joint angulation demands in various multiple jumps and athletic actions (remember positioning goes with pretension). When looking at the angulations in multijumps at the hip, knee, and ankle you see two primary setups (this will be simplistic, but as I get into training and teaching my perspective will make sense). Both setups display similar ground prep for landing and differ primarily in the degree of joint angulation during amoritization or absorbtion. Actual exercises performed and whether they are in place or with translational speed affect the exact nature of foot contact, where the joint bending occurs, and the distribution of muscle actions. However, in general you have multijumps with less joint bending and those with more.
The first setup involves a stiffness based pattern with small joint bending at ground contact at the ankle, knee, and hip (pic). You’ll see this in stiffness based and redirection based exercises like stiffness jumps/hops, hurdle jumps/hops, cone hops, vertical bounds, power based skip variations, classical horizontal bound varitations (more hip extension action pre ground contact here) , etc.. In general the landing or foot strike occurs on a stiffened leg and the yielding is small and predominantly from the knee and ankle.
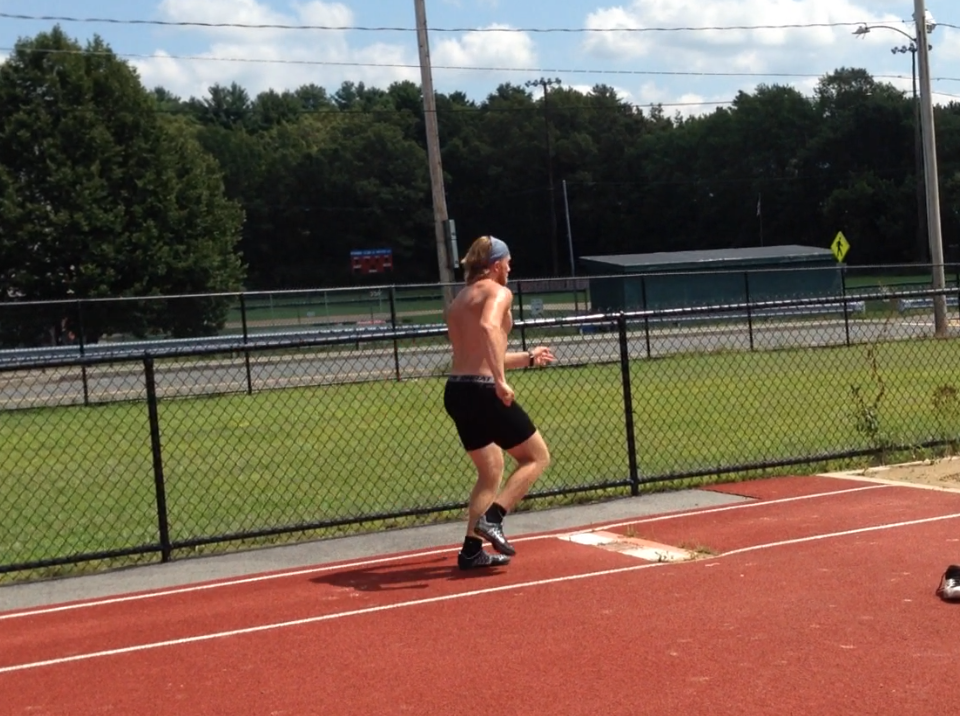
Mid-Stance and maximal yielding in a RRLL
The other primary joint orientation is found in the longer ground contact multiple jumps. This includes some in place multi-jumps like squat jumps or star jumps, broad jumps and repeat broad jumps (into sand), multiple throws etc.. The ground prep position is virtually the same as the stiffness based setup above, however the yielding or amoritization pattern demands deeper angulations at the ankle, knee, and hip. With that deeper yielding pattern there is generally a lot more hip bending (anteriorly rotated pelvis and torso) and the ability to direct amoritization into appropriate sharing of those deep joint angles is a requisite skill.
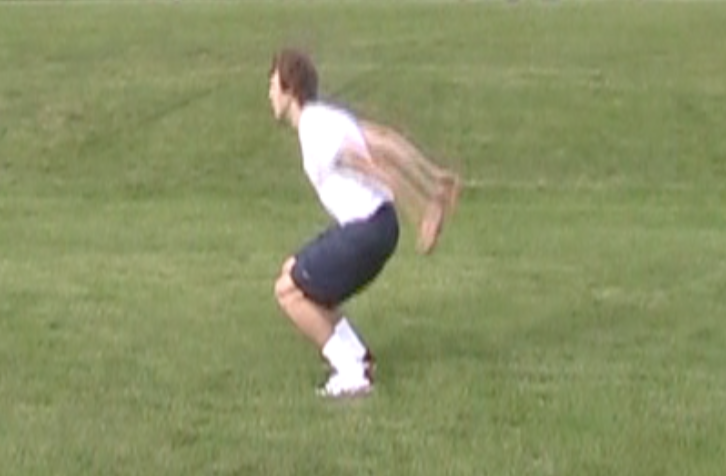
Maximal yielding in repetitive squat jumps (yes this athlete had fabulous ankle mobility)
Training and Teaching Pretension (ground prep and amoritization/absorption skills)
If you attended Boo’s lecture you saw an example of a low intensity multijump circuit (he called it foot prep) which is a simple and elegant training solution I like a lot as an early multijump element that helps train and teach pretension. The circuit design below is largely a credit to Boo and some of his stuff I was exposed to from his time at LSU.
An example of a Low Intensity Preparatory Jump Circuit I’ve used a lot
GPT foot prep
Double leg stiffness hop x20
Single leg stiffness hop x10RL
Double footed mini line hops x20 (10 each side)
Wideouts x10 (bounce, drop to squat and bounce out of it to tall)
Split shuffles x10RL
Speed skater x10RL
Generally I don’t even count the exact number of contacts and just go on/off with a general amount of time for the elements. Rest between elements is equal to 1-2x the work.
This is just an example and you can even use things like an easy shuffle to stick or go back and forth between single and double legs. Different jumps and directional changes within a single element a la hopscotch are also fair game (careful you are getting foot contacts and posture you want though). At first glance the circuit above is just some bouncy little plyos organized in a circuit. Look a little deeper and you’ll notice within this circuit you have a variety of basics for learning multiple jump skills (including pretension) for more advanced elements.
Double leg stiffness bounces provide an environment to teach the loaded ankle and quadracep tension in a simple bilateral scenario. Single leg stiffness bounces reinforce that in a single leg scenario and also present an opportunity for working on the basic free leg positioning you’ll need for posture preservation in more advanced activities (it’s not behind you). Double footed line hops (think of it as a mini cone hop) are an ankle and knee dominant plyo with a lateral element that can have stiffness characteristics very similar to tuck jump and hurdle hop variants to come.
Wide outs demand pulling into deeper joint angles you’ll need both for initiation and absorbtion in longer response jumps like squat jumps, star jumps, rocket jumps etc… Split shuffles involve a mini split squat position similar to those used in scissor jump variants (posture very important) and also involve leg exchange. Speed skaters are a hip dominant mini lateral jump (I prefer to not let the free leg swing across) to teach patterning for lateral and multidirectional plyos while also giving some unique stimulus to the lateral subsystem.
In Place to Translational, Jump and Stick, and Beyond
Above in the rationale for the GPT foot prep circuit I discussed the two primary types of joint bending you see in plyos and how translational velocity (yes, I’m including direction) will affect the exact nature of foot contact, joint bending, and force distribution. Often, very early on in the above in place jump circuit the double and single leg stiffness hop may be changed to forward or backwards variations (translation allows the opportunity and option to work on rolling through the foot). Some of the elements may also be done with a stick as coming to a stop exaggerates the feel and demand for balanced and appropriate pretension and absorption patterns (there’s your jump and stick).
The first items on the stick list are usually the single leg stiffness hop and the mini lateral jump w/ stick. Sticking on a single leg overloads single leg stability, providing a good assessment and awareness for the athlete therein. The single leg stiffness hop w/stick can be done in place or traveling forward or backwards. I call the single leg stiffness hops in a forward direction, mini-stabil hops as that’s how I was introduced to them by Carl Valle. The hops are small and shouldn’t be jabby or jarring horizonally, but have a nice smooth landing with the foot and leg catching the ground. As these go to dynamically moving forward the roll is heel to toe through the foot. Done well these teach the pretension, posture (including the free leg), and the roll of the foot necessary for rudimentary hopping and bounding. These make a nice segway and can also be included in a rudimentary bounding inventory like Dan Pfaff’s rudiment.
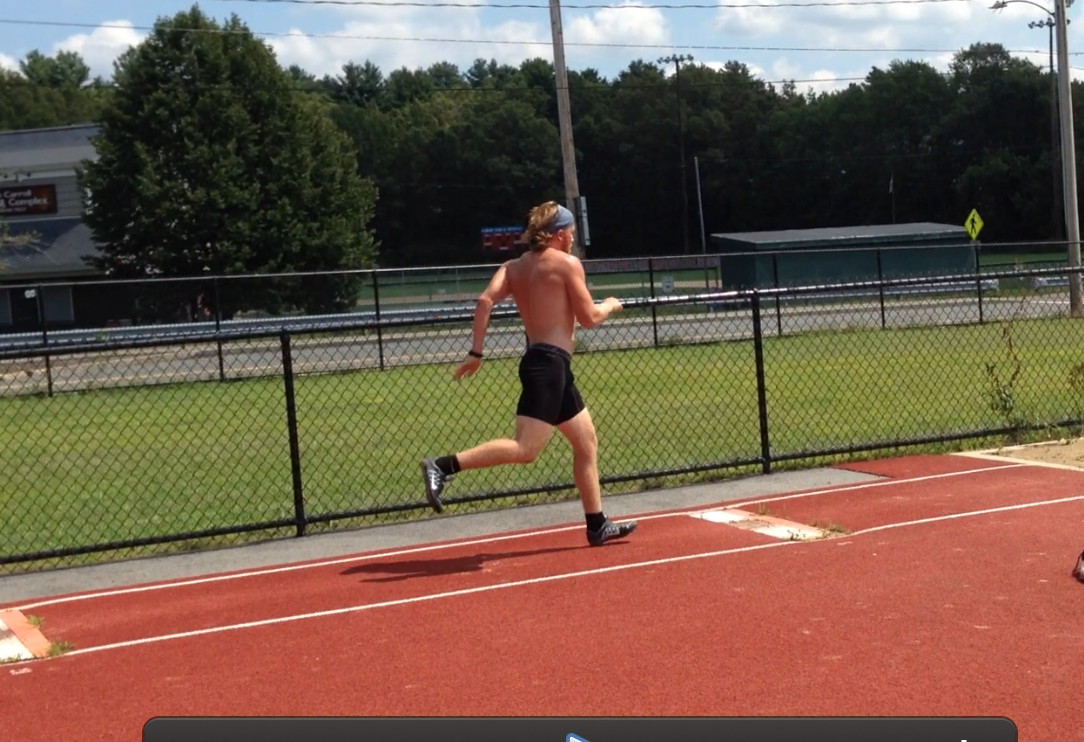
Power Skips for Height and Distance are great rudimentary bounding options for beginner and advanced athletes alike
Speedskaters are often done with a stick from the get go in the above low intensity jump circuit. This helps to exaggerate the deceleration and stability elements of coming to a stop laterally and the pauses also make it easier to teach any changes that may be needed in this relatively deeper absorption pattern. Once athletes demonstrate good skill with a stick these can be done dynamically without a stick. Down the road you can also progress them to a mini-vermeil bound, which takes the above pattern and moves it diagonally forward. Vermiel bounds can also be done with a stick to correct any errors in absorption and the general skill progression is from smaller to bigger amplitudes with the option to add weight via a weight vest or small hand weights for more advanced training down the road.
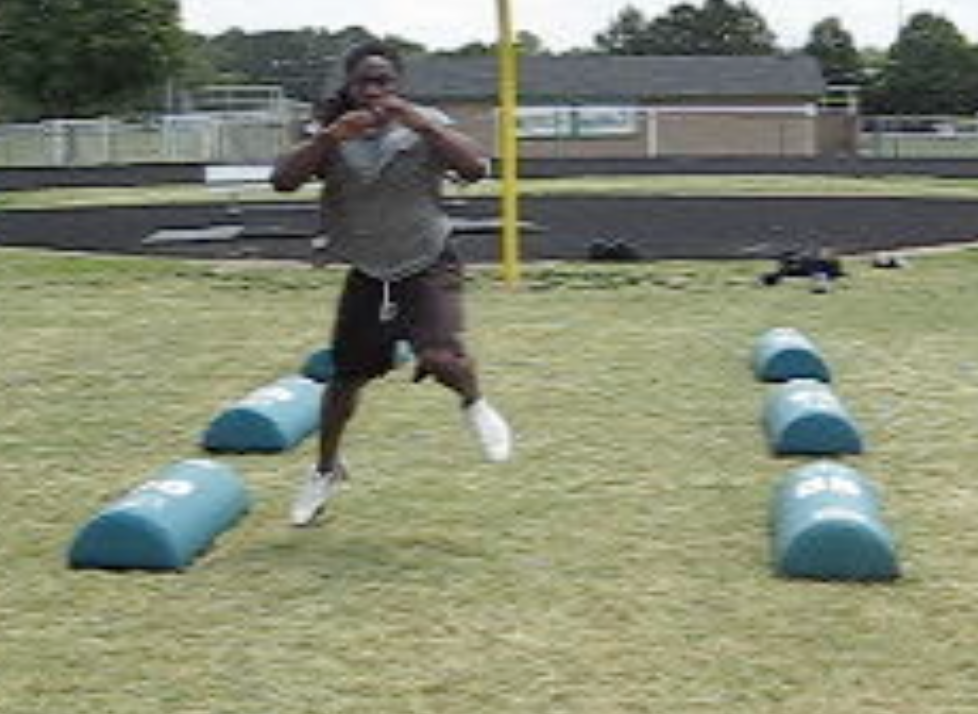
Vermeil Bounds (zig-zag bounds) with blocking pads serving as a visual stimulus to encourage width in the bounds
Split shuffles are also frequently done with a stick in early learning if athletes are struggling with positioning (often of the rotation of the leg or foot) or pelvic posture. As skill allows, amplitudes can be increased to exercises like scissor jumps.
The deeper absorption pattern of wideouts are often used in a jump and stick fashion in elements like star jumps w/ stick, squat jumps with stick, and squat freeze jumps (hands out in front like a landing gymnast for some general rehearsal of landing skill for jumping events or landing with hands in front at the ready as is often the case in ball sports). Broad jumps into sand can also be landed with the hands out in front to rehearse general landing skills. Hurdle hop like elements can also be done with a deeper wideout like stick (with the arms cocked back at the ready) early on and the deeper angles where stiffness is developed is similar to the deeper angles found in early acceleration (see block start hops with stick). Down the road altitude landings and other more advanced elements, may use this pattern as well.
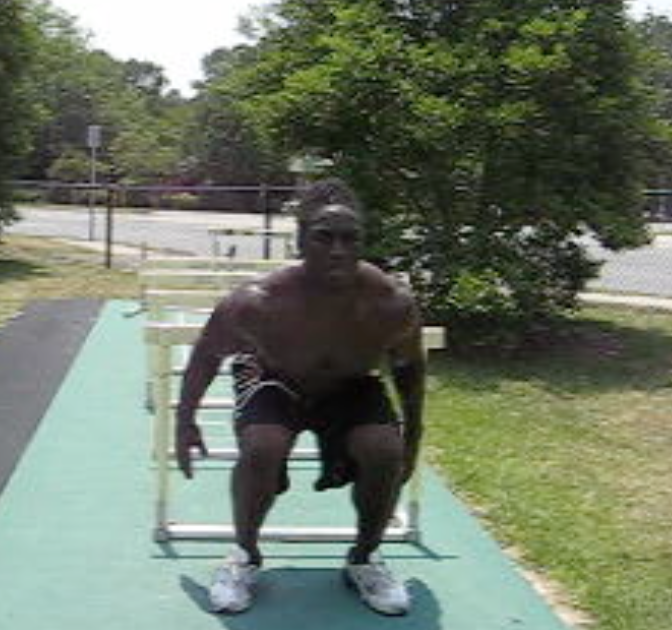
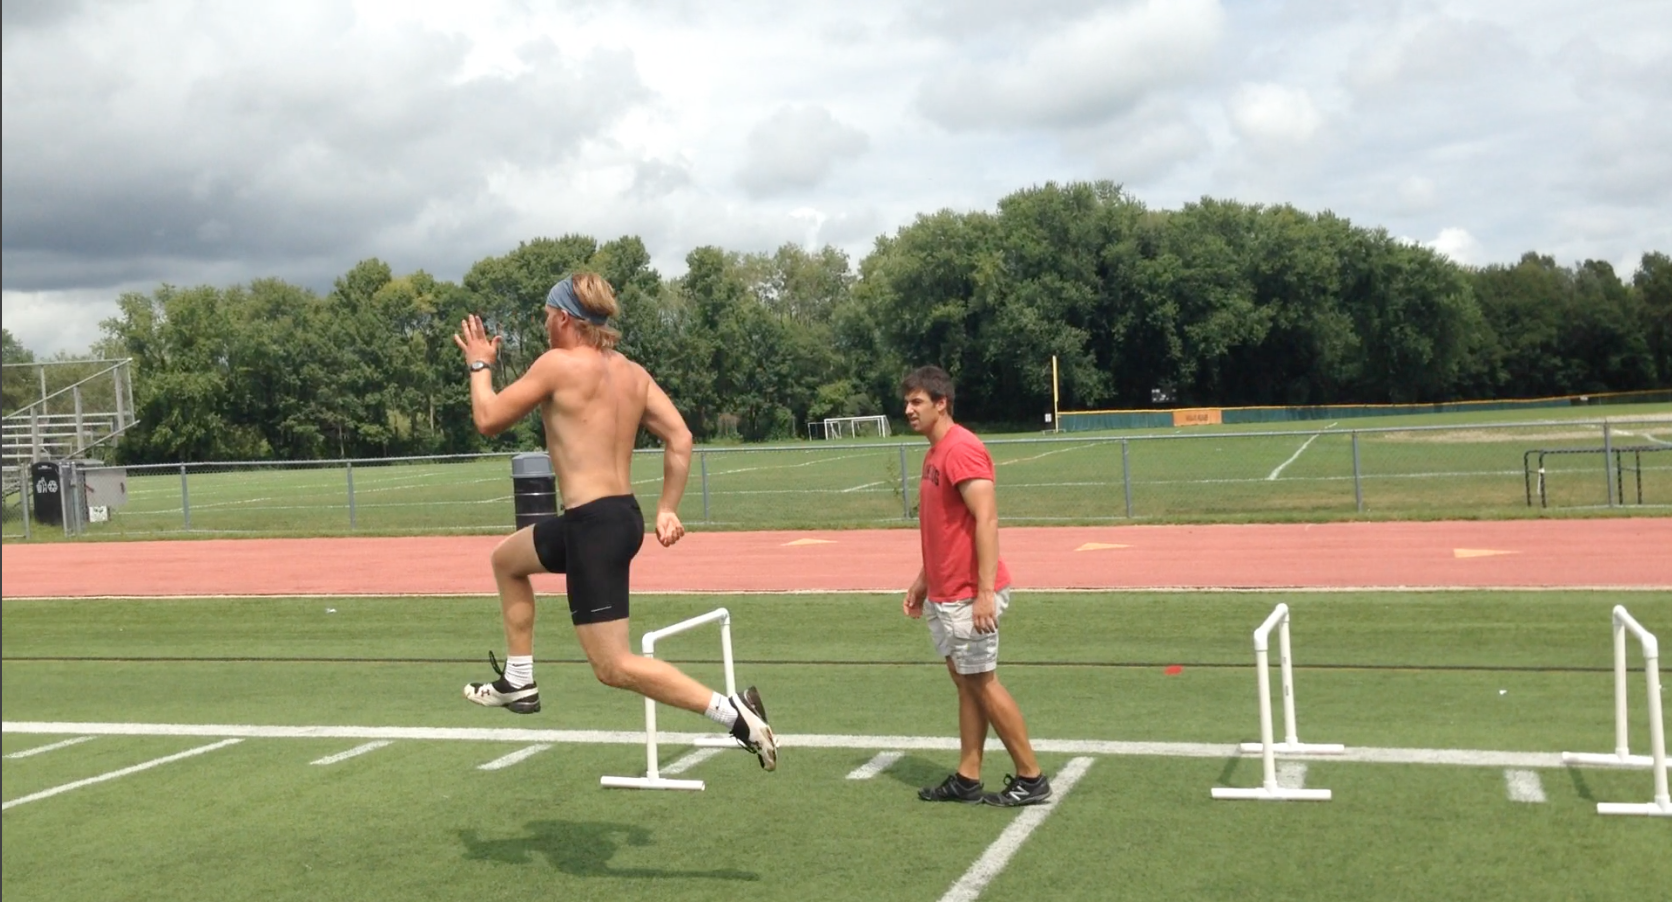
An example of sticking a deep landing in hurdle hops
Double leg stiffness hops are the double leg analog to the single leg stiffness hops above and as they are moved from in place to traveling forward the pretension, contact, and stiffness patterns are even briefer contact variants of their single leg cousin. The contact pattern you are able to achieve here from a cocked ankle position as the foot fires itself will be similar to what will be developmentally appropriate as a contact pattern in hurdle hops. The mini-line hops are usually kept dynamic in nature and can be progressed to line hops, cone hops, diagonal bunny hops and hurdle hop progressions.
While jump and stick is a great early teaching and training tool for pretension and talked about a lot in this section, in reality, the majority of most early programming will still be dynamically executed elements. Just as there is a variety of jumps and landing patterns in early training, having variety in absorption patterns helps vary the stress while also building athletes with a wider adaptive skill set.
Coaching and Upstream Skills
So what do you coach within these basic multiple jumps? In general you coach posture (tall, where is the pelvis?), encourage good arm action (thumbs up, amplitude and timing matches that of jump), and foot prep is important. Having a cocked ankle (locked and loaded/dorsiflexion) so the foot can fire itself into the ground or roll as needed in translatory multi-jumps is huge.
Dorsiflexion also allows for more full footed landings which is a larger surface to apply force with, more stable platform, and puts the triceps surae complex at length tension where it can store more energy (in bigger multiple jump actions the foot will go to a dorsiflexed position in amoritization anyway so you try to start closer to that position as the faster the rate of stretch the more energy stored). The ankle position at ground contact will differ athlete to athlete and devlelopmentally, but over time you like to see relatively flatter contacts to not jam the foot and also provide more specificity to the joint angles at the ankle in sports and competitive jumping events.
Pretension setup in a short horizontal bound with the ankle prepped for a heel to toe roll
As mentioned above with the ankle, you do coach joint angulations a bit if things are being misdistributed. Sometimes cues here help, but many of your cue systems and need to cue will harken back to basic bending patterns at the ankle, knee, and hip. Just as good general strength in a variety of squatting(single and double leg), lunging, hinging/bending, bridging, crawling, pushing, pulling, and twisting patterns provide a good platform for general movement the same applies to multijumps. If an athlete can’t do basic upstream skills like stand on one leg, skip, or do a basic lateral step down or single leg squat, downstream skills like bounding aren’t going to be successful or appropriate for them.
Weightroom wise, beyond the variety mentioned above, bilateral and single leg squat patterns are big as those are basic lowering patterns. I coach these movements in the weightroom very much like I’d like someone to yield if going down in larger yield in place or absorption based plyometric actions. For more advanced athletes, Olympic lifts give you free rehearsals under load with rapid switching from extension to absorption patterns. Your general warmup skills in marches, skips, dribbles, and other elements also provide motor machinery and reference points for posture, free-leg skills, and ankle prep. Again, good training is building in function with good coaching while training.
Access Points and On-Ramps
Some may see the above circuit as too simple or of too low an intensity for favorable training adaptations. You’ll be happy to know, with capable athletes, the above circuit is only used for about two weeks at the very beginning of the training year as a conservative, but higher volume reintroduction to multiple jumps. Week 1 we’ll often start barefoot in firm sand or on a thin mat to enhance the muscular work of the lower leg (also allows the coach to better see the feet he’s working with) and provide a more forgiving environment for mistakes (always remember sand overloads the tissue of the lower leg, so tread carefully or don’t tread at all for folks with calf, Achilles, or plantar issues). From there we’ll move to the flat, shod (with shoes), intensify and/or start to directionally move the jumps more as needed. By week 2 or 3, with these more experienced athletes, you’ll start to see classical exercise batteries similar to Pfaff’s rudiment and some small intensification of in place jumps.
Beyond an introductory training element the above circuit is a simple or rudimentary access point to allow training and skill development where more intensive batteries may not currently be a good fit. In today’s athletic climate you’ll see plenty of relatively high performance high school athletes, with low basic skills who may need doses of remediation. Younger or less developed athletes may stay with this type of low intensity in-place work longer to master basic skills while training in an environment that fits their ability levels. Athletes returning from injury may also use this simple in place battery as a reconditioning tool before returning to more intense work. With the wider developmental levels of athletes of the same classification, I think it’s critical you have an inventory with adequate access points or on ramps for the large variety of athletes to access higher levels of training.
FOLLOW US FOR MORE -
SHARING IS CARING -


[…] coaches as Matt Gardner and articles which give realistic and appropriate ways to begin teaching plyometric exercises. It gives context to the athlete and makes things progressive and simple. These are great methods […]